Tired of repetitive daily tasks? 😫 Want to automate API integrations, data synchronization, or notification dispatches? Then n8n could be your lifesaver! n8n is an open-source automation tool that allows you to build powerful workflows without coding knowledge. And with Docker, you can easily install and run n8n in minutes, in any environment. This article provides a detailed A-to-Z guide on installing n8n using Docker. Grab a cup of coffee, and let's dive into the world of automation! ☕
n8n & Docker: A Perfect Match? 🤔
First, let's briefly touch on what n8n is. n8n, short for "nodemation," allows you to connect various web services and applications through a visual interface to create complex automation workflows. It's similar to Zapier or Integromat but has the significant advantage of being open-source and self-hostable.
So, why Docker? Docker is a technology that packages applications into isolated environments called containers. Running n8n with Docker offers several benefits:
- Easy Installation & Updates: Installation is done with a few command lines, no complex dependency setups. Updates are just as simple.
- Environment Independence: Run n8n in the same environment on your laptop, company server, or in the cloud. Say goodbye to "It worked on my machine..."! 👋
- Convenient Data & Configuration Management: Use volumes to permanently store n8n data and easily change settings with environment variables.
- Scalability: Easily spin up multiple n8n instances or adjust resources as needed.
Now you see why n8n and Docker are a winning combination, right? Let's get started with the installation!
"Automation is not just about saving time; it's about freeing up your mind to focus on creative work." – A Developer
Prerequisites: Checking Your Docker Installation
To run n8n with Docker, you obviously need Docker installed. If you don't have Docker yet, please install Docker Desktop or Docker Engine for your OS from the official Docker website.
If Docker is already installed, open your terminal (PowerShell or CMD on Windows) and check the installation and version with the following commands:
docker --version
docker-compose --version  # For older Docker Compose
# Or
docker compose version   # For newer Docker Compose (plugin style)
If you see version information for both, you're ready! If `docker-compose` commands don't work, don't worry; newer Docker Desktops integrate it as `docker compose` (no hyphen).

Running n8n with Docker: A Step-by-Step Guide
Let's start with the simplest method and gradually move to a more production-ready setup.
1. Basic Run (For Testing)
If you want to quickly test n8n, use the following command. This method is not suitable for production as data will be lost when the n8n container stops.
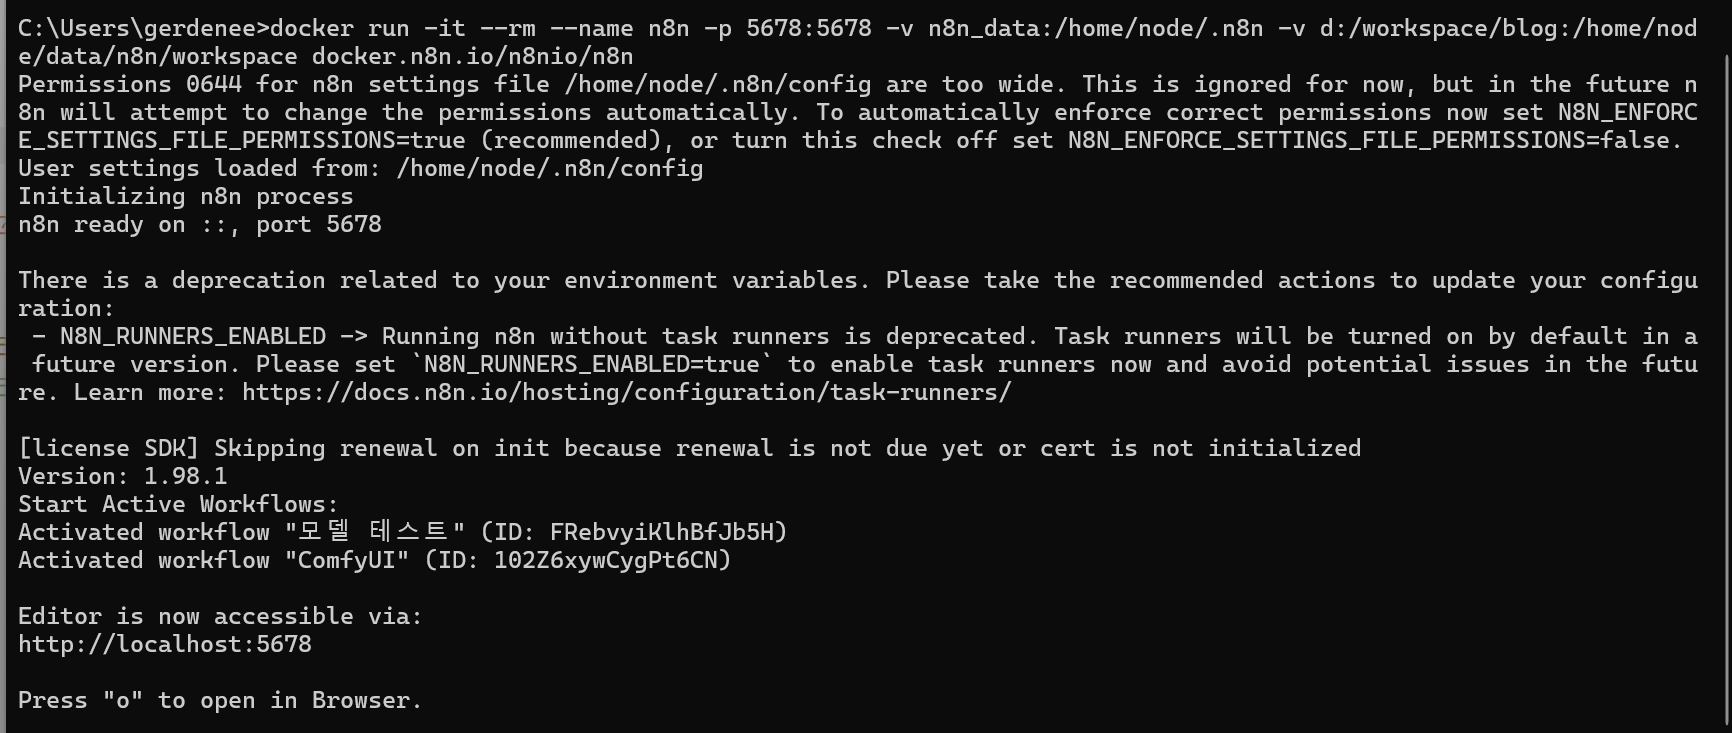
docker run -it --rm --name n8n -p 5678:5678 n8nio/n8n
-it: Runs in interactive mode, allowing you to see logs directly in the terminal.--rm: Automatically removes the container when it stops.--name n8n: Assigns the name 'n8n' to the container.-p 5678:5678: Connects port 5678 of the host to port 5678 of the container. (Left: host port, Right: container port)n8nio/n8n: The official n8n Docker image.
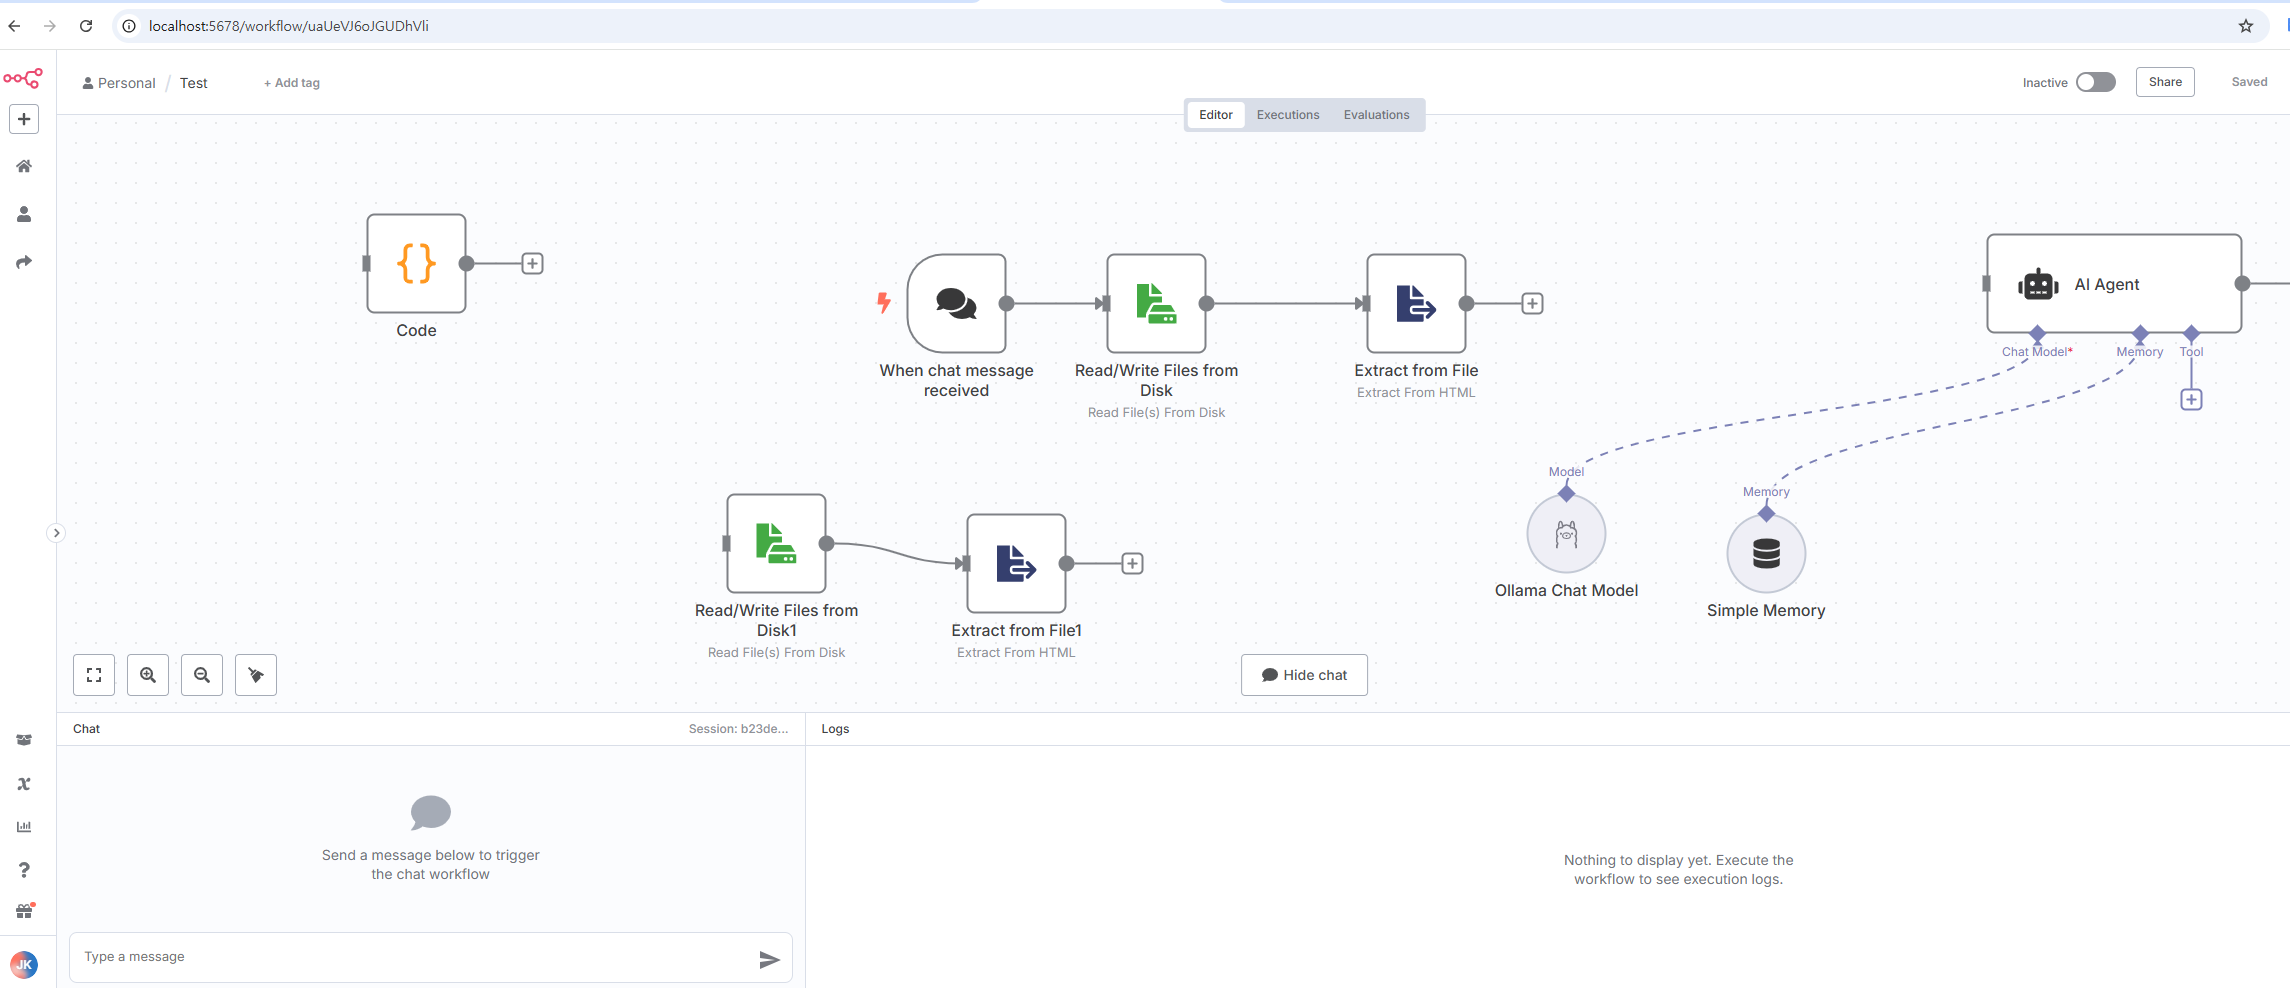
After running the command, open your web browser and go to `http://localhost:5678` to see the n8n screen.
2. Persistent Data Storage (Using Volumes)
To preserve your workflows, settings, and user data even if the container stops/is removed, you must use Docker volumes. Here’s how to create and link a volume named `n8n_data`:
docker volume create n8n_data

docker run -d --name n8n \
  -p 5678:5678 \
  -v n8n_data:/home/node/.n8n \
  n8nio/n8n
docker volume create n8n_data: Creates a Docker volume named 'n8n_data'.-d: Runs in detached (background) mode.-v n8n_data:/home/node/.n8n: Mounts the `n8n_data` volume to the `/home/node/.n8n` path inside the container (where n8n stores data).
Now, your data will be preserved even if you stop and restart the container. 👍
3. Setting Environment Variables
n8n allows configuration changes through various environment variables. For instance, to set the timezone to your local time (e.g., Korea Standard Time), use the `GENERIC_TIMEZONE` environment variable.
docker run -d --name n8n \
  -p 5678:5678 \
  -v n8n_data:/home/node/.n8n \
  -e GENERIC_TIMEZONE="Asia/Seoul" \
  n8nio/n8n
-e GENERIC_TIMEZONE="Asia/Seoul": Sets the timezone to Seoul. (Adjust to your timezone, e.g., "America/New_York")
Other useful environment variables can be found in the official n8n documentation. Examples include `WEBHOOK_TUNNEL_URL` for webhook test URLs, and `EXECUTIONS_MODE` to change the execution mode.
Managing n8n Like a Pro with Docker Compose ✨
Typing multiple Docker options in the command line every time is cumbersome and prone to errors. Using a `docker-compose.yml` file allows you to manage n8n execution settings systematically and run/stop it with a single command. This is the method preferred by pros!
Create a project folder and, inside it, create a `docker-compose.yml` file with the following content:
version: '3.7'

services:
  n8n:
    image: n8nio/n8n
    container_name: n8n_service # Specify container name
    restart: unless-stopped # Automatically restart if it stops unexpectedly (even on system reboot)
    ports:
      - "5678:5678" # host port:container port
    environment:
      - GENERIC_TIMEZONE=Asia/Seoul # Or your timezone, e.g., America/New_York
      # - N8N_BASIC_AUTH_ACTIVE=true # Enable basic authentication (optional)
      # - N8N_BASIC_AUTH_USER=myuser # Basic auth username (optional)
      # - N8N_BASIC_AUTH_PASSWORD=mypassword # Basic auth password (optional)
      # - WEBHOOK_TUNNEL_URL=https://your-custom-domain.com/ # Webhook tunnel URL (optional, requires HTTPS)
    volumes:
      - n8n_data_compose:/home/node/.n8n # Mount n8n_data_compose volume inside the container
    # user: "node" # Specify user if needed (enhanced security)

volumes:
  n8n_data_compose: {} # Define a volume named n8n_data_compose
You can uncomment and configure the lines starting with # as needed. For example, to add simple access authentication, enable `N8N_BASIC_AUTH_ACTIVE`, `N8N_BASIC_AUTH_USER`, and `N8N_BASIC_AUTH_PASSWORD`.
In the folder containing the `docker-compose.yml` file, run the following command:
# Run (in background)
docker-compose up -d
# Or for newer Docker
# docker compose up -d

# Check logs
# docker-compose logs -f
# docker compose logs -f

# Stop
# docker-compose down
# docker compose down
Just one command: `docker-compose up -d`! So simple, right? 😉
Key Takeaway: Docker Compose is the Way!
Unless it's for a quick test, using Docker Compose for n8n installation and operation is highly recommended. It simplifies configuration management and handles restart policies and volume management cleanly, which is essential for stable service operation.
Accessing n8n & Initial Setup
If the Docker container has started successfully, open your web browser and enter `http://localhost:5678` (or the port you specified if changed in `docker-compose.yml`) in the address bar. The n8n initial setup screen should appear.

Follow the on-screen instructions to set up an owner account and complete a few basic settings. You'll then enter the n8n dashboard. You're all set to create your own automation workflows! 🥳
Conclusion: The Start of Your Automation Journey
Congratulations! You've successfully built an n8n automation server using Docker. Now, explore and connect n8n's various nodes to turn all your automation ideas into reality. You can start with simple notification automation and gradually challenge yourself with complex data processing and API integration workflows.
The n8n community (https://community.n8n.io/) and official documentation are excellent learning resources. If you have any questions, feel free to ask in the comments. We're cheering for your automation journey! 🚀
